A train-cation is a trip (usually away from home) where you focus for a specific…

Adding Aerials to Your Pole Studio
You’re ready to expand your pole business–how exciting!
… and you’ve chosen to add an aerial apparatus of some sort like flying pole, sling, lyra, trapeze, silks, or other option. These apparatuses appeal to you and your students because they are similar to pole in many ways: artistic, athletic, and totally badass!
However, there are many things to consider before adding aerial apparatuses to your space and class offerings. Let’s explore some!
What ceiling height do I need for aerial?
Aerial apparatuses typically require more ceiling height than pole.
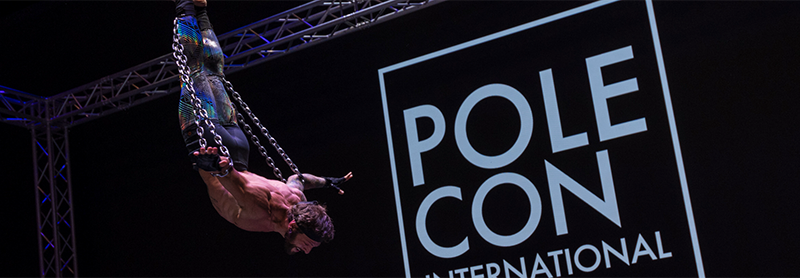
Poles in a studio context can vary greatly in height. Most pole competitions and events, like our partner PoleCon, have maximum heights around 12 feet tall.
For an apparatus like silks, the higher the ceiling the better!
As an athlete approaches the rig point on aerial silks, there is more tension and it becomes challenging to execute moves between the fabrics.
For an apparatus like silks, lyra, or trapeze, there are options for movement on a lower ceiling, but if the ceiling is too low the participant will have to choose between movements under the apparatus and above the apparatus, both of which are worth exploring!
A studio may choose to have some apparatuses hung higher to work on “under the bar” movements and others hung higher to explore movements in the ropes or the span sets.
What do I need to know about rigging?
Pole rigging is very different from aerial rigging.
There are multiple orientations to rig most of the apparatuses listed above.
Trapeze can be hung single-point (known as dance trapeze) or double-point (known as static trapeze). Lyra can be hung single-point to singlepoint (one span set attached to one point on the ceiling), double-point to single-point (two span sets connect to separate parts of the lyra and one point on the ceiling, making it look like a dance trapeze), double-point to double-point (two points on the lyra to two points on the ceiling, making it look like a static trapeze), or as a tippy lyra (a whole other can of worms).
Each of these orientations causes the apparatus to move differently and has different rigging requirements. Sling can also be hung in various ways that change the amount of spin the apparatus can handle (if any) and the amount of space near the rig point.
Attaching the apparatus to a pre-existing structure requires a structural engineer to assess the stability and weight bearing ability of the structure.
If the structure is not assessed, you are putting your business, your instructors, and your students at risk as an unassessed structure may not be able to bear the forces of an adult body engaging in dynamic movement.
If you don’t want to rig (or can’t rig) from an existing structure, you will need to invest in a stand alone rig, which takes up a lot of floor space, or a truss system, which takes up a lot of floor space and is a serious investment. Stand alone aerial rigs pricing typically start around $1,000, truss systems are upwards of $25,000.
After your structure, freestanding or pre-existing, is assessed, you will also need to contact a certified rigger to design the rigging of your apparatuses. There are many examples of rigging online; however, if you have not had rigging training you may not understand the intricacies of a rigging setup.
All aerial instructors should have at least rudimentary understanding of aerial rigging (usually covered in a teacher training – our partner XPERT offers aerial certifications) so they can perform at minimum visual inspections prior to every class.
What do your teachers need to know about aerial?
Before adding aerial apparatuses to your studio or teaching program, you will also want to ensure you have instructors to teach the new apparatus.
Being able to execute a skill on an apparatus is not the same as being able to coach a skill on a new apparatus. Simply taking classes for a particular apparatus is not enough to make a coach.
There are several teacher training programs available for aerial instructors (our partner XPERT offers aerial certifications). Some offer certifications after training, others offer only a certificate of completion.
Unlike academic certifications, there is no overarching body to assess certifications for aerial arts and the advantage of having a teaching certification has not been solidified.
What do you need to know about safety?
It is recommended to always have a mat underneath you when doing aerial arts.
At minimum, a 1-inch panel mat should be under all students who have all four limbs off the ground in an upright position. It is recommended that students have at minimum an 8-inch crash mat underneath them if they are inverting at all, even if the inversion is a transition from one upright move to another upright move. Taking mats into consideration may also affect your assessment on what ceiling height you require.
If you already have an aerial program at your studio and this post has made you realize you may have missed some steps, our partner American Circus Educations (ACE) offers safety consultations for a fee.
What do you need to know about insurance?
Adding aerial arts may increase your insurance premium.
Aerial arts insurance is often based on ceiling height and the maximum height a participant’s lowest limb is off the ground. If your current insurance provider does not cover aerial arts, you may need to carry two insurance policies until you can get pole and aerial covered by the same provider.
For additional information on insurance, check out this post.
Adding aerials to your studio or teaching program can be a great way to increase revenue, increase attendance, and offer your students more cross training opportunities or even a new apparatus to love. Follow these recommendations so you, and everyone else at your studio, is prepared!


